|
A Sterling Silver Cabochon Pendant The Making of From Start to Finish By Mike Streeter Page 2 Step 3 - Lapidary
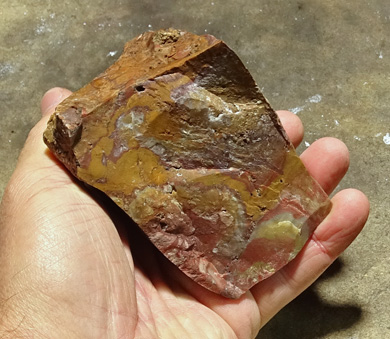
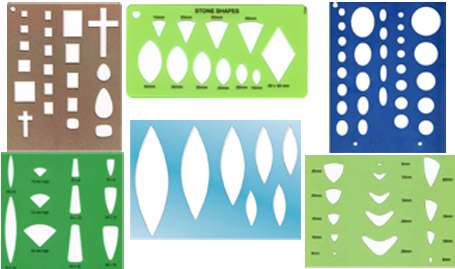
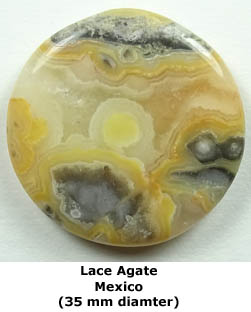
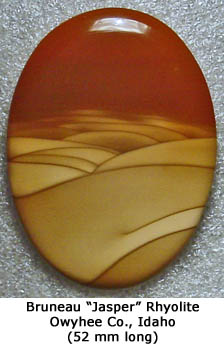
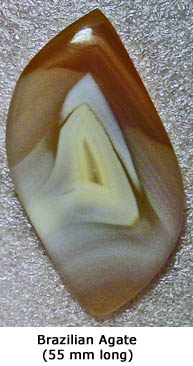
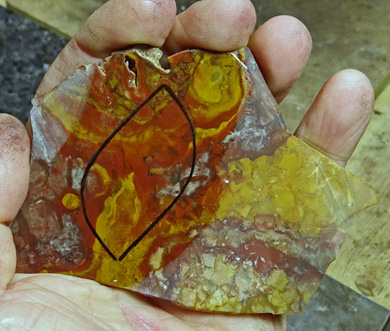
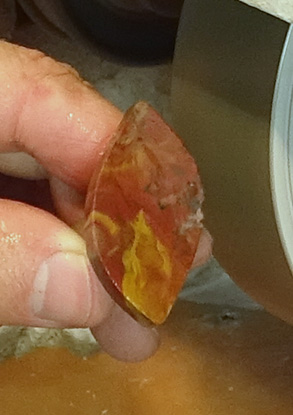
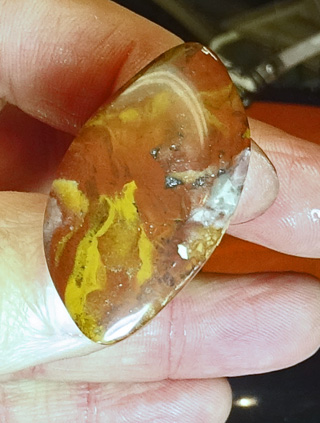
When making a cabochon without a specific pendant design in mind, its size and shape should be chosen to best show off the pattern on the slab surface. Choosing just the right size and shape is much like choosing how to frame a landscape photograph with a camera, except that instead of the set rectangular shape of a viewfinder, there are countless cabochon templates from which to choose. A "free form" cabochon can be also be made without using a template. The following pictures show some examples of good combinations of cabochon shapes and slab patterns, at least to my eye.
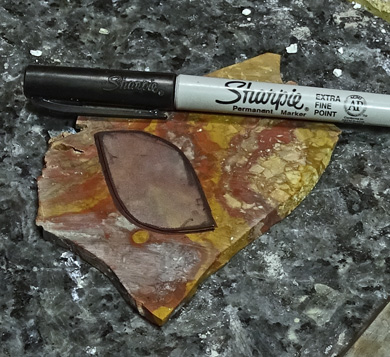
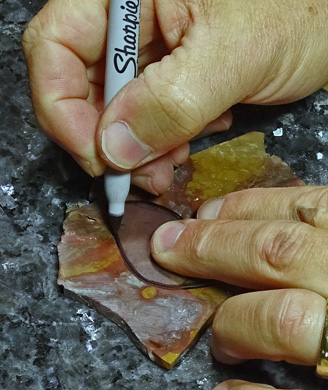
Since I had determined the overall design of this project's pendant before beginning the lapidary process, I knew the shape of the cabochon I'd need to complete the project. Since I didn't have a store-bought template for this particular cabochon shape, I created made my own clear plastic "positive" template copying a design I found online. With the template, I chose a pattern on the slab's surface that I felt would best suit my feather design. I used a permanent marker to draw a black line around the outer edge of template and define the outer shape of the cabochon.
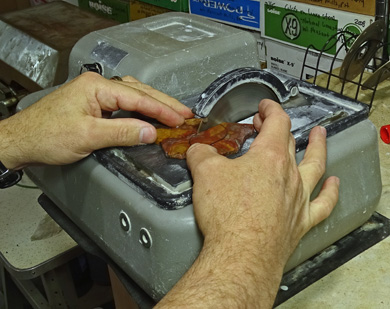
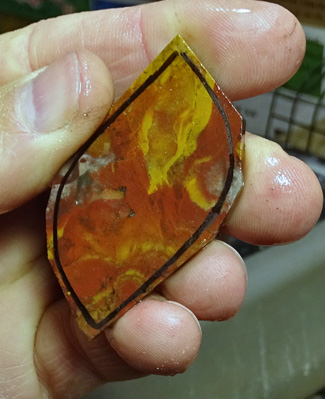
A trim saw was used to cut a cabochon "preform".
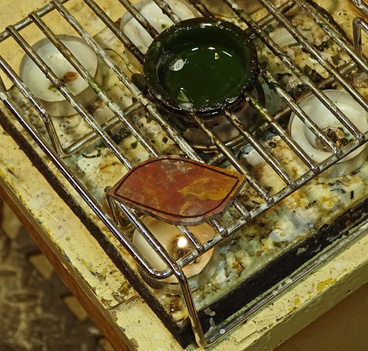
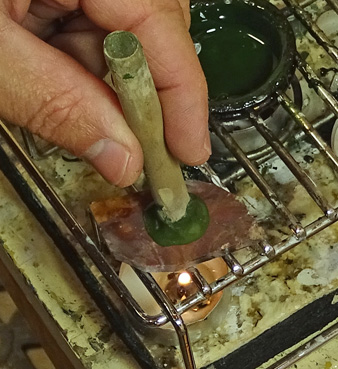
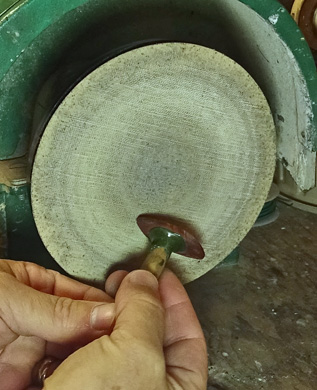
Melted wax is applied to the end of the dop stick which is then placed on the surface of the heated preform. When the wax and preform cool to room temperature, the wax hardens and affixes the preform to the dop stick. If placed in a freezer for 5 to 10 minutes, dop wax loses its grip on rock thereby releasing a finished cabochon.
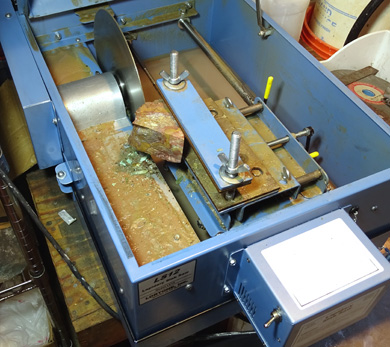
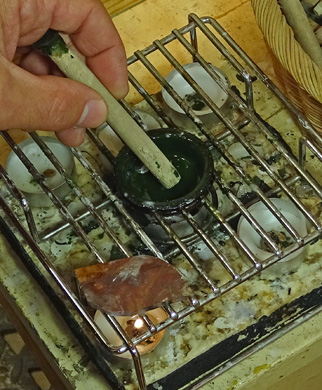
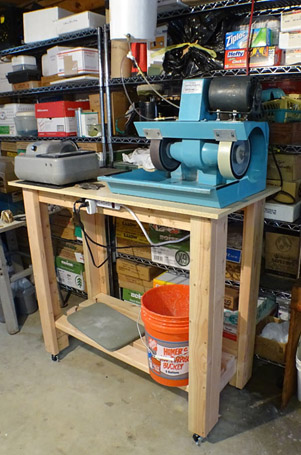
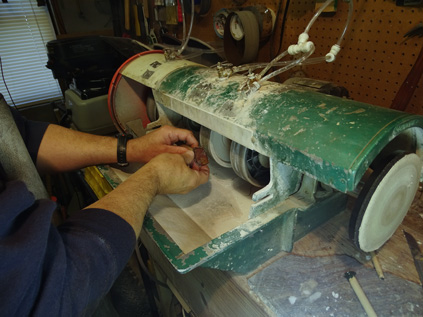
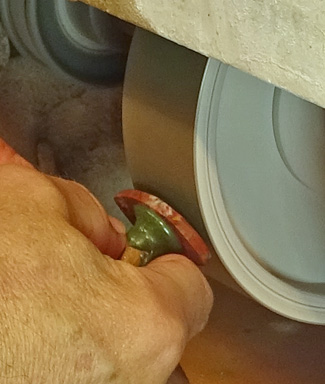
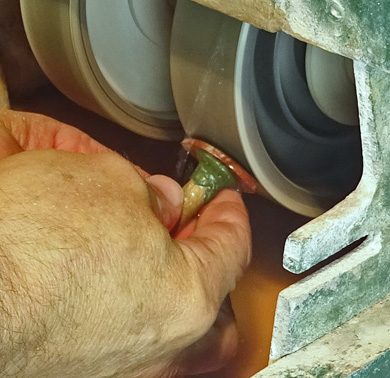
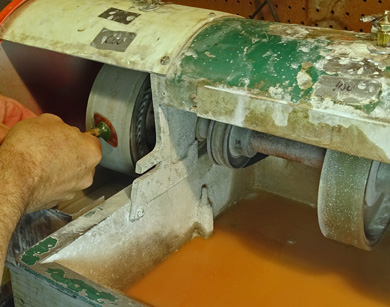
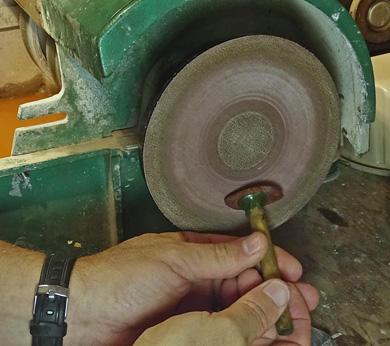
Lapidary machines with wheels and laps were used to shape and polish the cabochon. Grinding, sanding and prepolish steps were performed on diamond wheels and laps cooled with water and the polishing steps on dry flat laps charged with diamond pastes. The following pictures show the lapidary machines I used in this project.
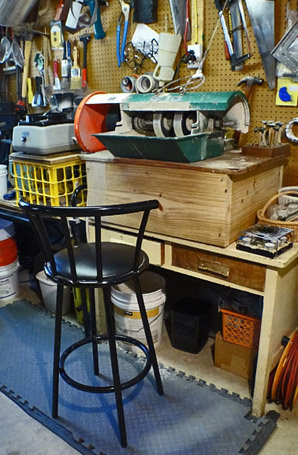
I raised the height of all of my lapidary and silversmithing stations so I can stand while I work, making the black bar stool in the above picture nothing more than my towel rack.
To establish the basic cabochon shape as defined by the black marker line, I started with a 100-grit diamond wheel.
The next step was to use the 100-grit wheel to begin carefully creating the roundness (dome) of the cabochon making sure to maintain an even bezel which is a flat surface on the bottom outside perimeter of a cabochon necessary for a bezel setting (to come later).
A 360-grit diamond wheel was used to "sand" the cabochon or to remove the scratches caused by the coarser 100-grit wheel and to further refine its shape.
A 600-grit "soft" wheel was used to remove scratches, smooth away flat spots caused by preceding wheels and better round the cabochon.
A 1,200-grit diamond wheel was used to pre-polish the stone.
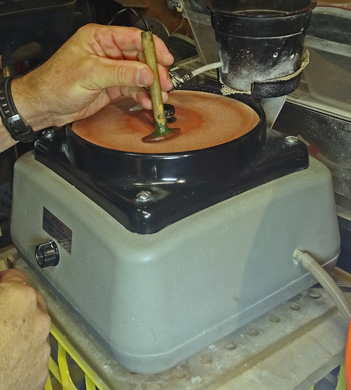
The next step with this cabochon, was to use a 3,000-grit lap to further pre-polish the cab. I just so happen to use a rotating flap lap machine for this step since I don't have a 3,000-grit wheel on either of my ancient hand-me-down arbor-type machines, but it does the job.
The first polishing step for this cabochon began on a flat lap charged with 6,000-grit diamond paste attached to one end of an arbor machine.
A 14,000-grit flat lap was used to continue the polishing.
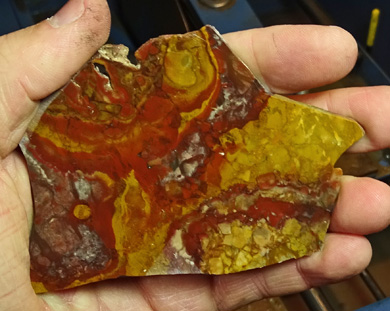
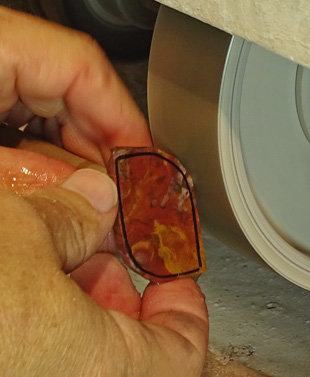
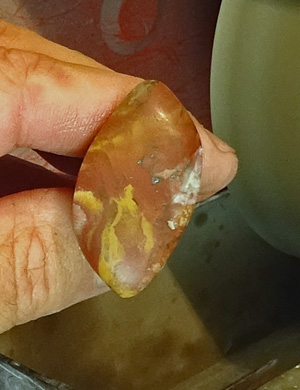
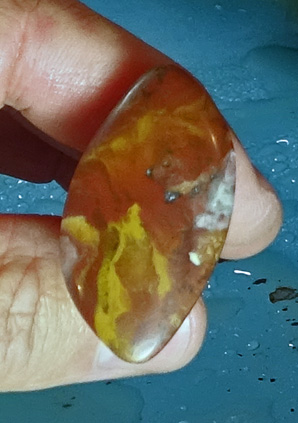
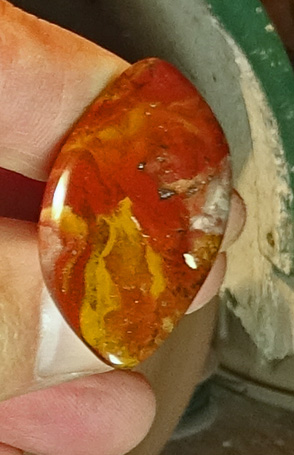
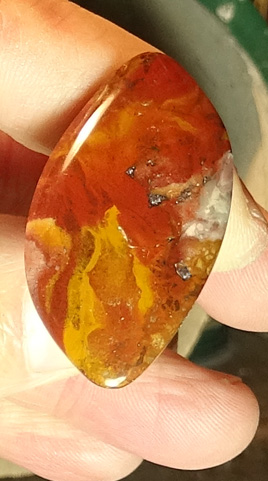
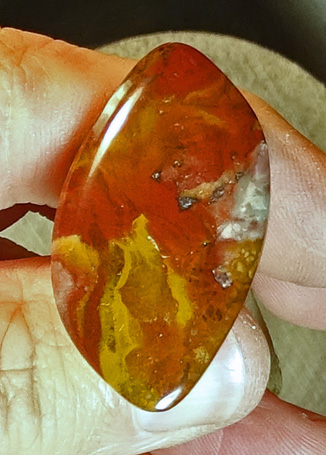
The final polishing step to finish the cabochon involved the use of a 50,000-grit diamond lap.
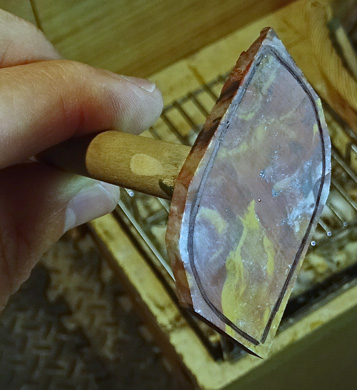
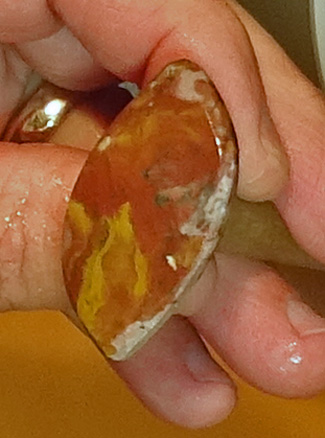
With the finished cabochon in hand, it was time to move on to the silversmithing step as demonstrated on the following page.
|


Click here to go to the next page . . .