|
A Sterling Silver Cabochon Pendant The Making of From Start to Finish By Mike Streeter Page 3 Step 4 - Silversmithing
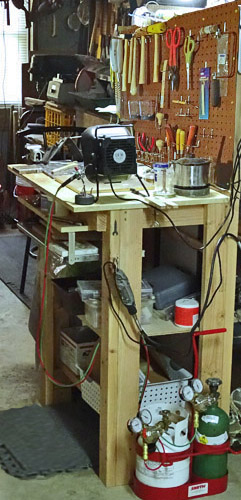
Silversmithing, at least if one wants to have a chance at creating halfway decent pendants, involves the use of a great many specialized tools of the trade and equipment, as may be seen in the following picture of my work station.
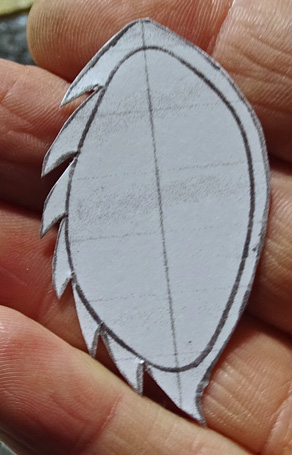
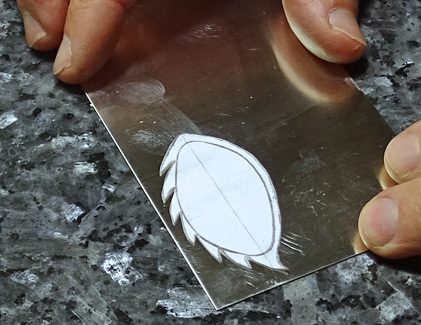
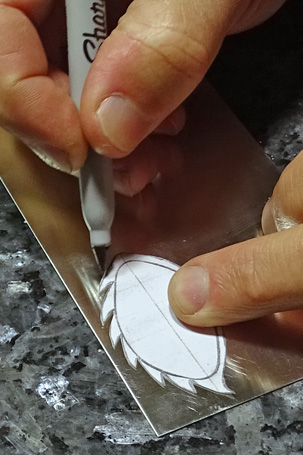
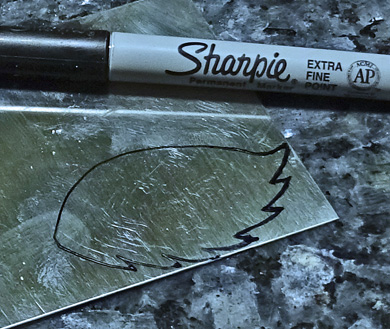
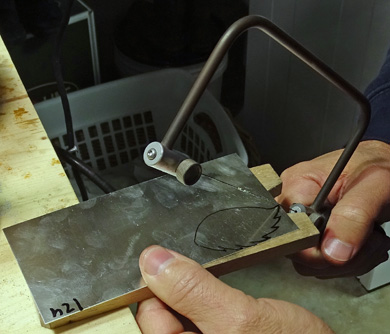
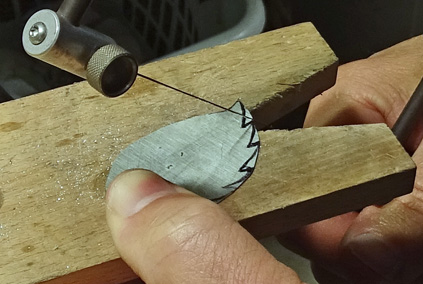
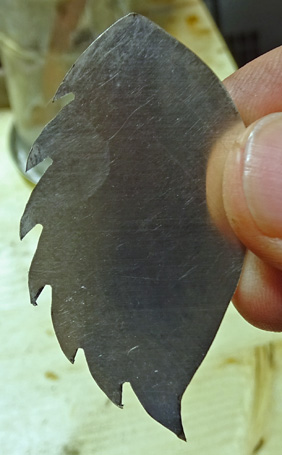
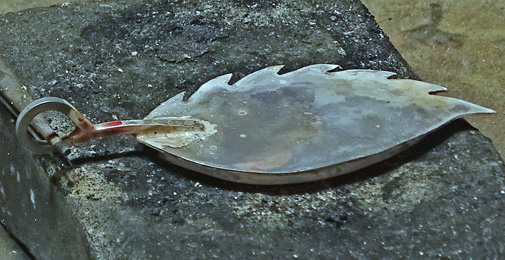
I used a jewelers saw to carefully cut out the pendant's outline from the silver sheet. This was to be the base of the pendant.
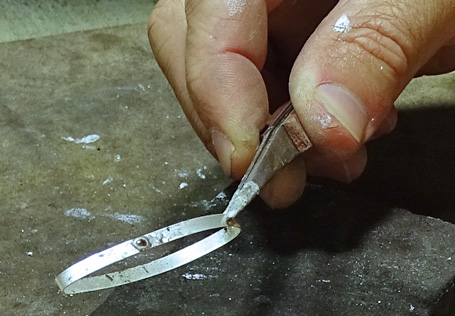
In this case, I would use bezel wire to attach the cabochon to the pendant base. A cabochon can be affixed to silver sheet in soldered bezel wire finished with setting and burnishing tools. Since a cabochon needs to fit snugly into a bezel setting, the bezel wire was measured and cut to about 1 mm longer than the perimeter length of the cabochon. Both ends of the bezel wire were filed square for future soldering purposes.
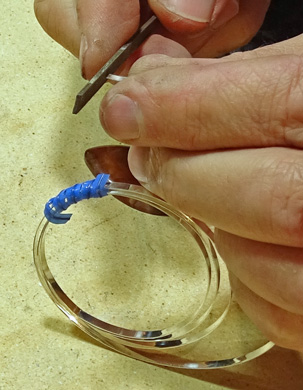
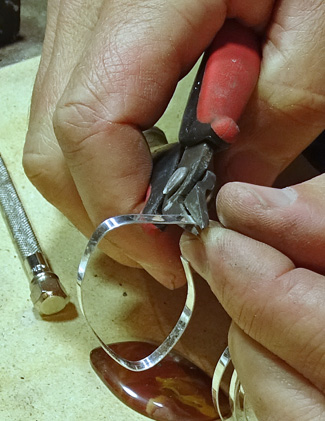
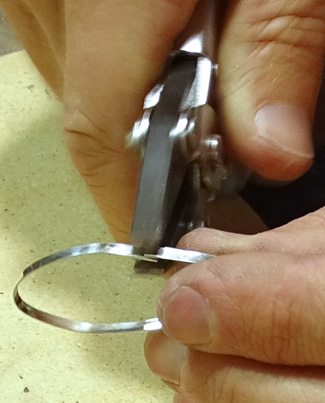
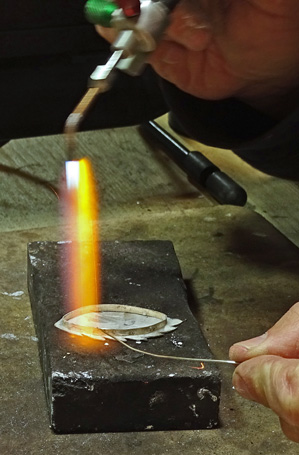
The bezel wire was manipulated to have its two ends soldered together. This seemingly simple task is one of the more tedious in the entire process because manipulating fine silver wire is difficult and takes practice and patience as the ends have be perfectly joined or the future soldering won't work. When bent just right, tension in the silver wire forces the two ends to stay together where they meet for soldering.
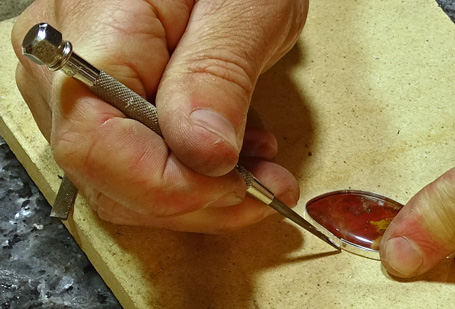
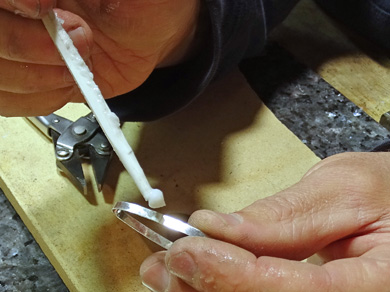
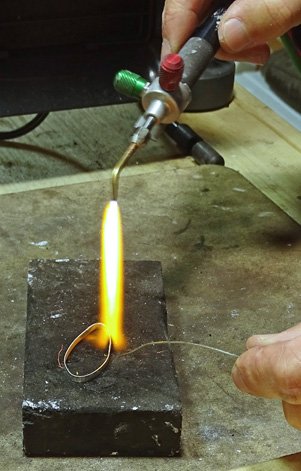
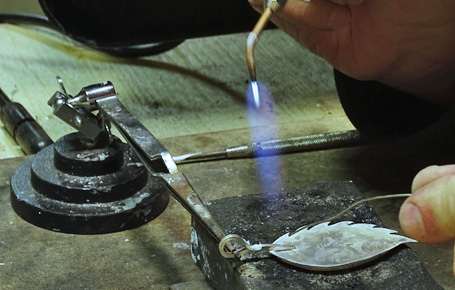
Flux is applied to the surfaces to be joined for the solder to properly flow and set. As shown in the first picture on this page, I use a Smith Little Torch with propane and oxygen for soldering. High melting point (hard) solder was used for the bezel wire in this step so it wouldn't melt during subsequent soldering steps with lower melting point (easy) solders.
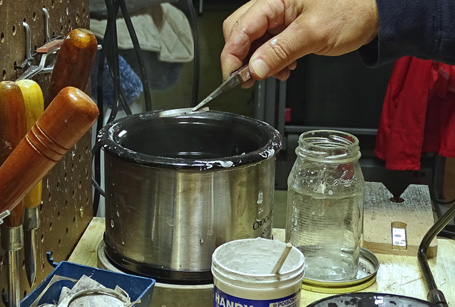
After soldering the bezel wire ends together, it was placed in a pickle pot containing a solution that dissolves fire scale off silver after soldering. The term pickling comes from jewelers of yesteryear where they would use alum (the same stuff used to make pickles) in a solution to remove fire scale.
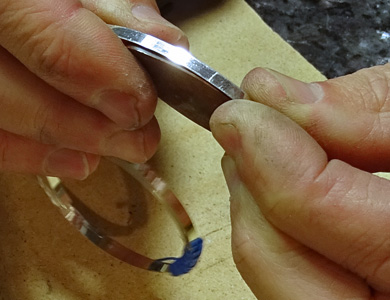
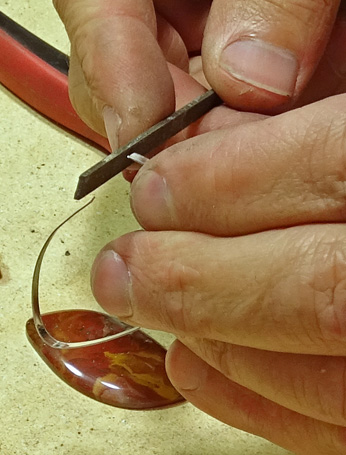
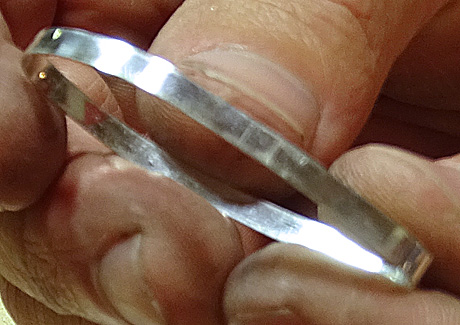
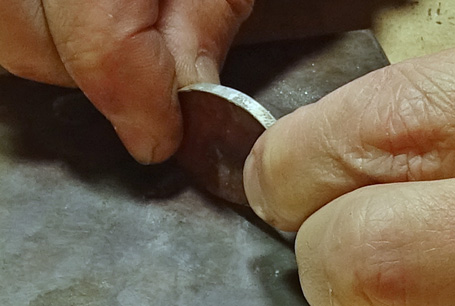
A file was used to remove extra solder inside and outside the bezel to ensure it would bend properly and fit the cabochon.
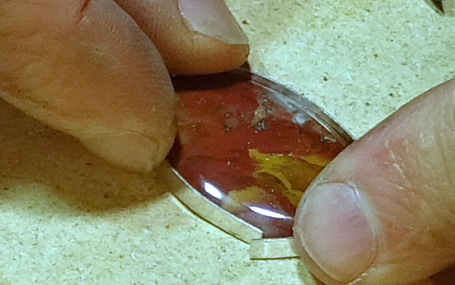
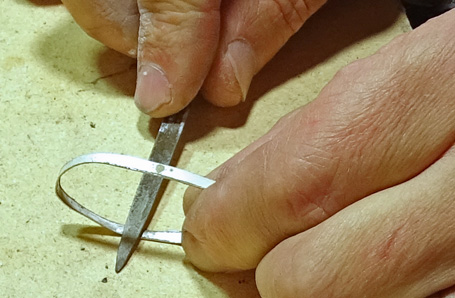
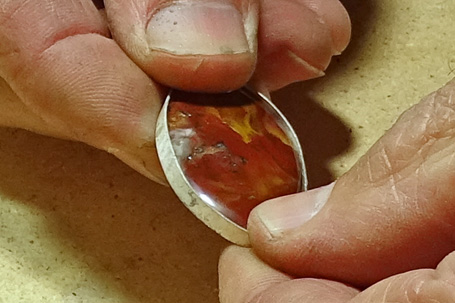
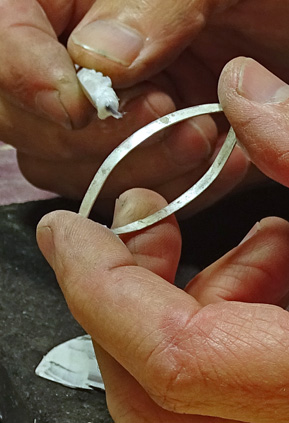
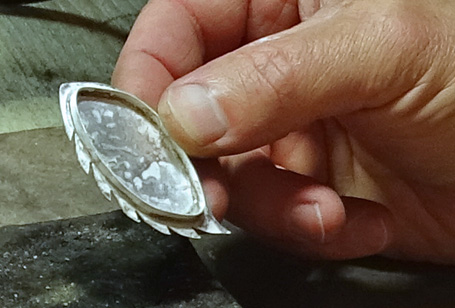
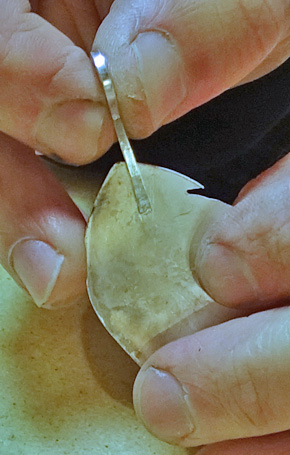
The cabochon was placed and rolled in the bezel wire to make sure of its fit and set the shape to perfectly match the cabochon for future soldering onto the silver sheet base.
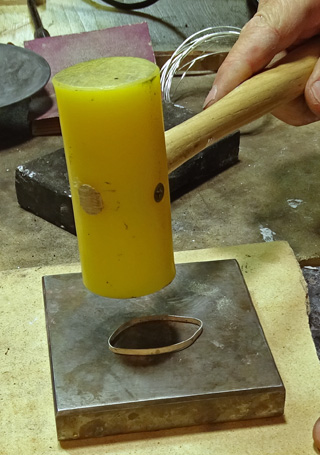
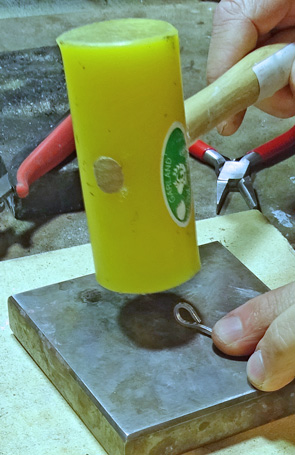
Once the shape of the bezel wire was set, a rubber mallet was gently used to ensure that its bottom was horizontal to match the silver sheet base.
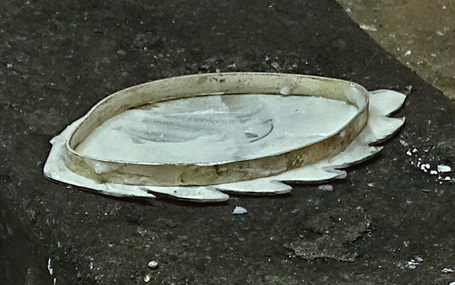
Solder was applied to the bottom inside of the bezel wire and top surface of the silver sheet for soldering.
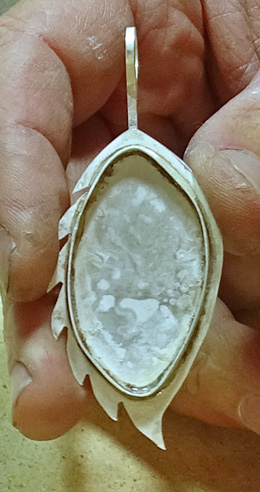
The bezel wire was soldered onto the silver plate by applying easy solder to the inside border and having it flow outward to create a solid joint. After soldering and while still very hot, the piece was placed and retrieved from the pickle pot and the bezel setting was ready for the next step.
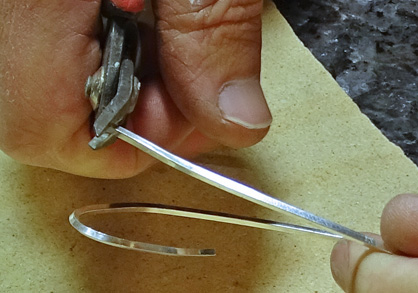
I used 14-gauge square silver wire to make a bail from which to hang the pendant.
I cut a suitable length of wire and then used square and rounded pliers to bend it into the shape I wanted.
A rubber mallet was used to flatten and straighten out the sides of the bail and to close the loop.
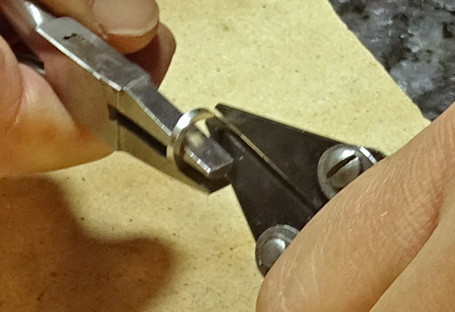
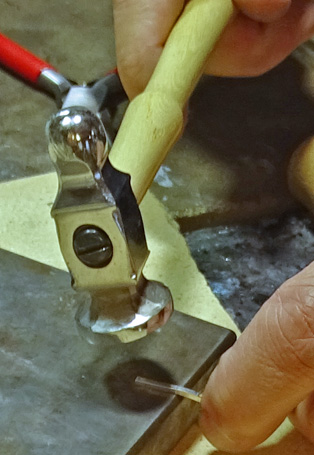
The end of the bail was flattened with a rounded hammer on a metal striking plate to lessen its profile before being soldered to the back of the pendant base.
I used a "third hand" clamp and used extra easy solder to attach and finish the bail.
Another dunking in the pickle pot completed the soldering portion of the bezel setting design.
|