

Rocks, Gems, Minerals and More
PHOTO POSTING TUTORIAL
There are two ways to post your images on the McRocksNet message board:
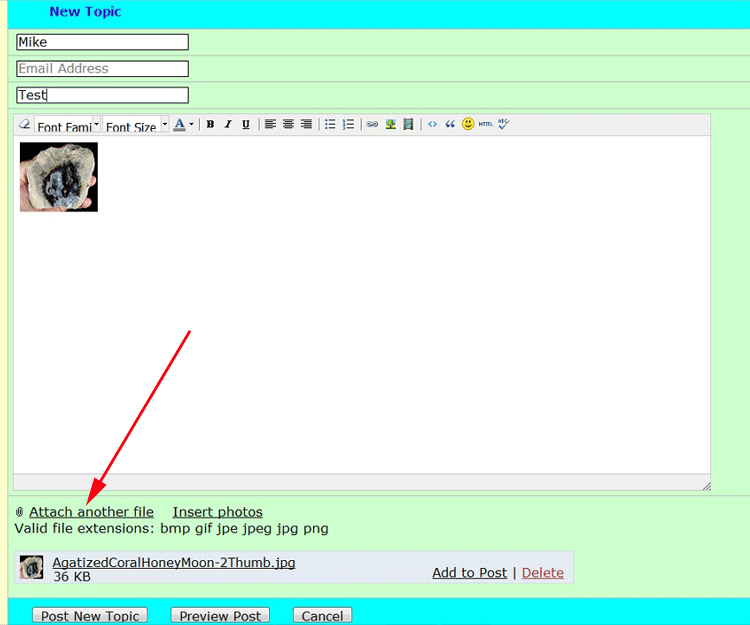
2) Manage Attachments Link (at bottom of message posting box)
1) Image Button
Using the Image Button will produce an image (picture) in
your message wherever you want it. To post an image using the Image Button, you have to make sure
that your image hosting site is public
(does not require a password to get in). If the site is not public, your image will not appear on the board.
Uploading Image Files to Internet Before you are able to post images on the McRocks message board, you must upload your image files to an image hosting site on the internet. There are services for this on the web. Image Event, a relatively inexpensive image hosting web site, can be accessed by clicking on the following link:
Perhaps the easiest and most efficient way to upload your image files to web space provided to you as part of your internet package by your ISP is to use an FTP program. An excellent FTP program called AceFTP 3 can be downloaded from the internet and used for
FREE by clicking on the following link:
You would do well by learning how to use an FTP program and the web space provided by your ISP to host your images; this will allow you to easily post images anywhere on the NET and it is simpler than you may think! You already pay for the web space, you might just as well use it!
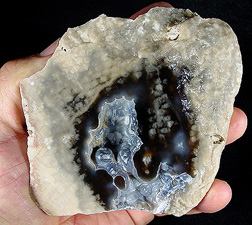
The easiest way to insert your image's URL (web address) into the graphic box (as shown above) is to cut and paste it. To obtain the address of the image, right click on your image, and then left click on "Properties" (for Internet Explorer) or "View Image Info" (for Mozilla Firefox), you will get a box that shows the internet link (web address or location) of the image. For example, if you right click on the agates coral image below and then left click on Properties or View Image Info, you will see that its web link is as follows: Make sure that your address is correct.
If your image address is not PERFECT, an small empty box will appear instead of your image.
2) Attach Files Link
Be advised that the set file size limit for attached images is 128 kb and the file format may be any one of the following: bmp gif jpe jpeg jpg png. If you are unable to attach an image file, chances are it is greater than 128 kb, so you will have to reduce its size to less than this in order for it to work on the board.
Image File Size
Another good free photo editing program is irfanview.com
In Closing . . . Some of the above directions may seem complicated at first, but they are all really quite simple once you have done them a few times. Please feel free to test away on the message board if you prefer - we won't mind. Whatever you do, keep posting your images!
Click on the little miner dude below to
Home Page
the McRocks Message Board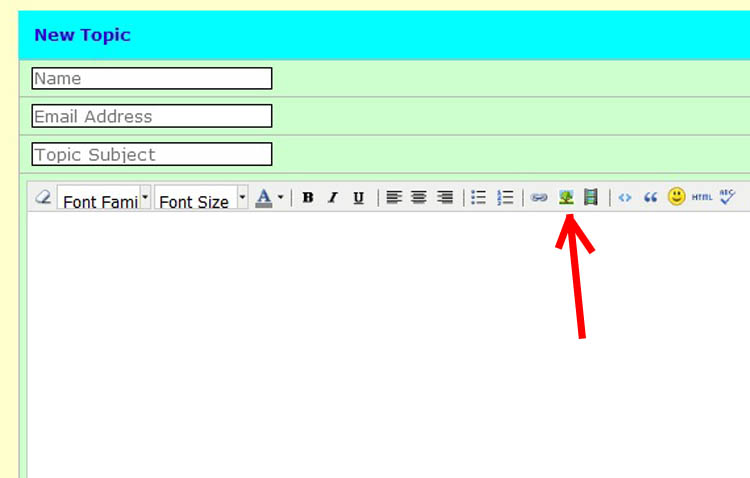


go to the McRocksNet Message board